Step-by-Step Guide to Creating Beautiful DIY Art Projects


Getting Started with DIY Art Projects
Creating your own art can be an incredibly rewarding and fulfilling experience. Not only does it allow you to express your creativity, but it also provides a sense of accomplishment. Whether you're a seasoned artist or a complete beginner, this guide will help you create beautiful DIY art projects with confidence.
Gathering Your Materials
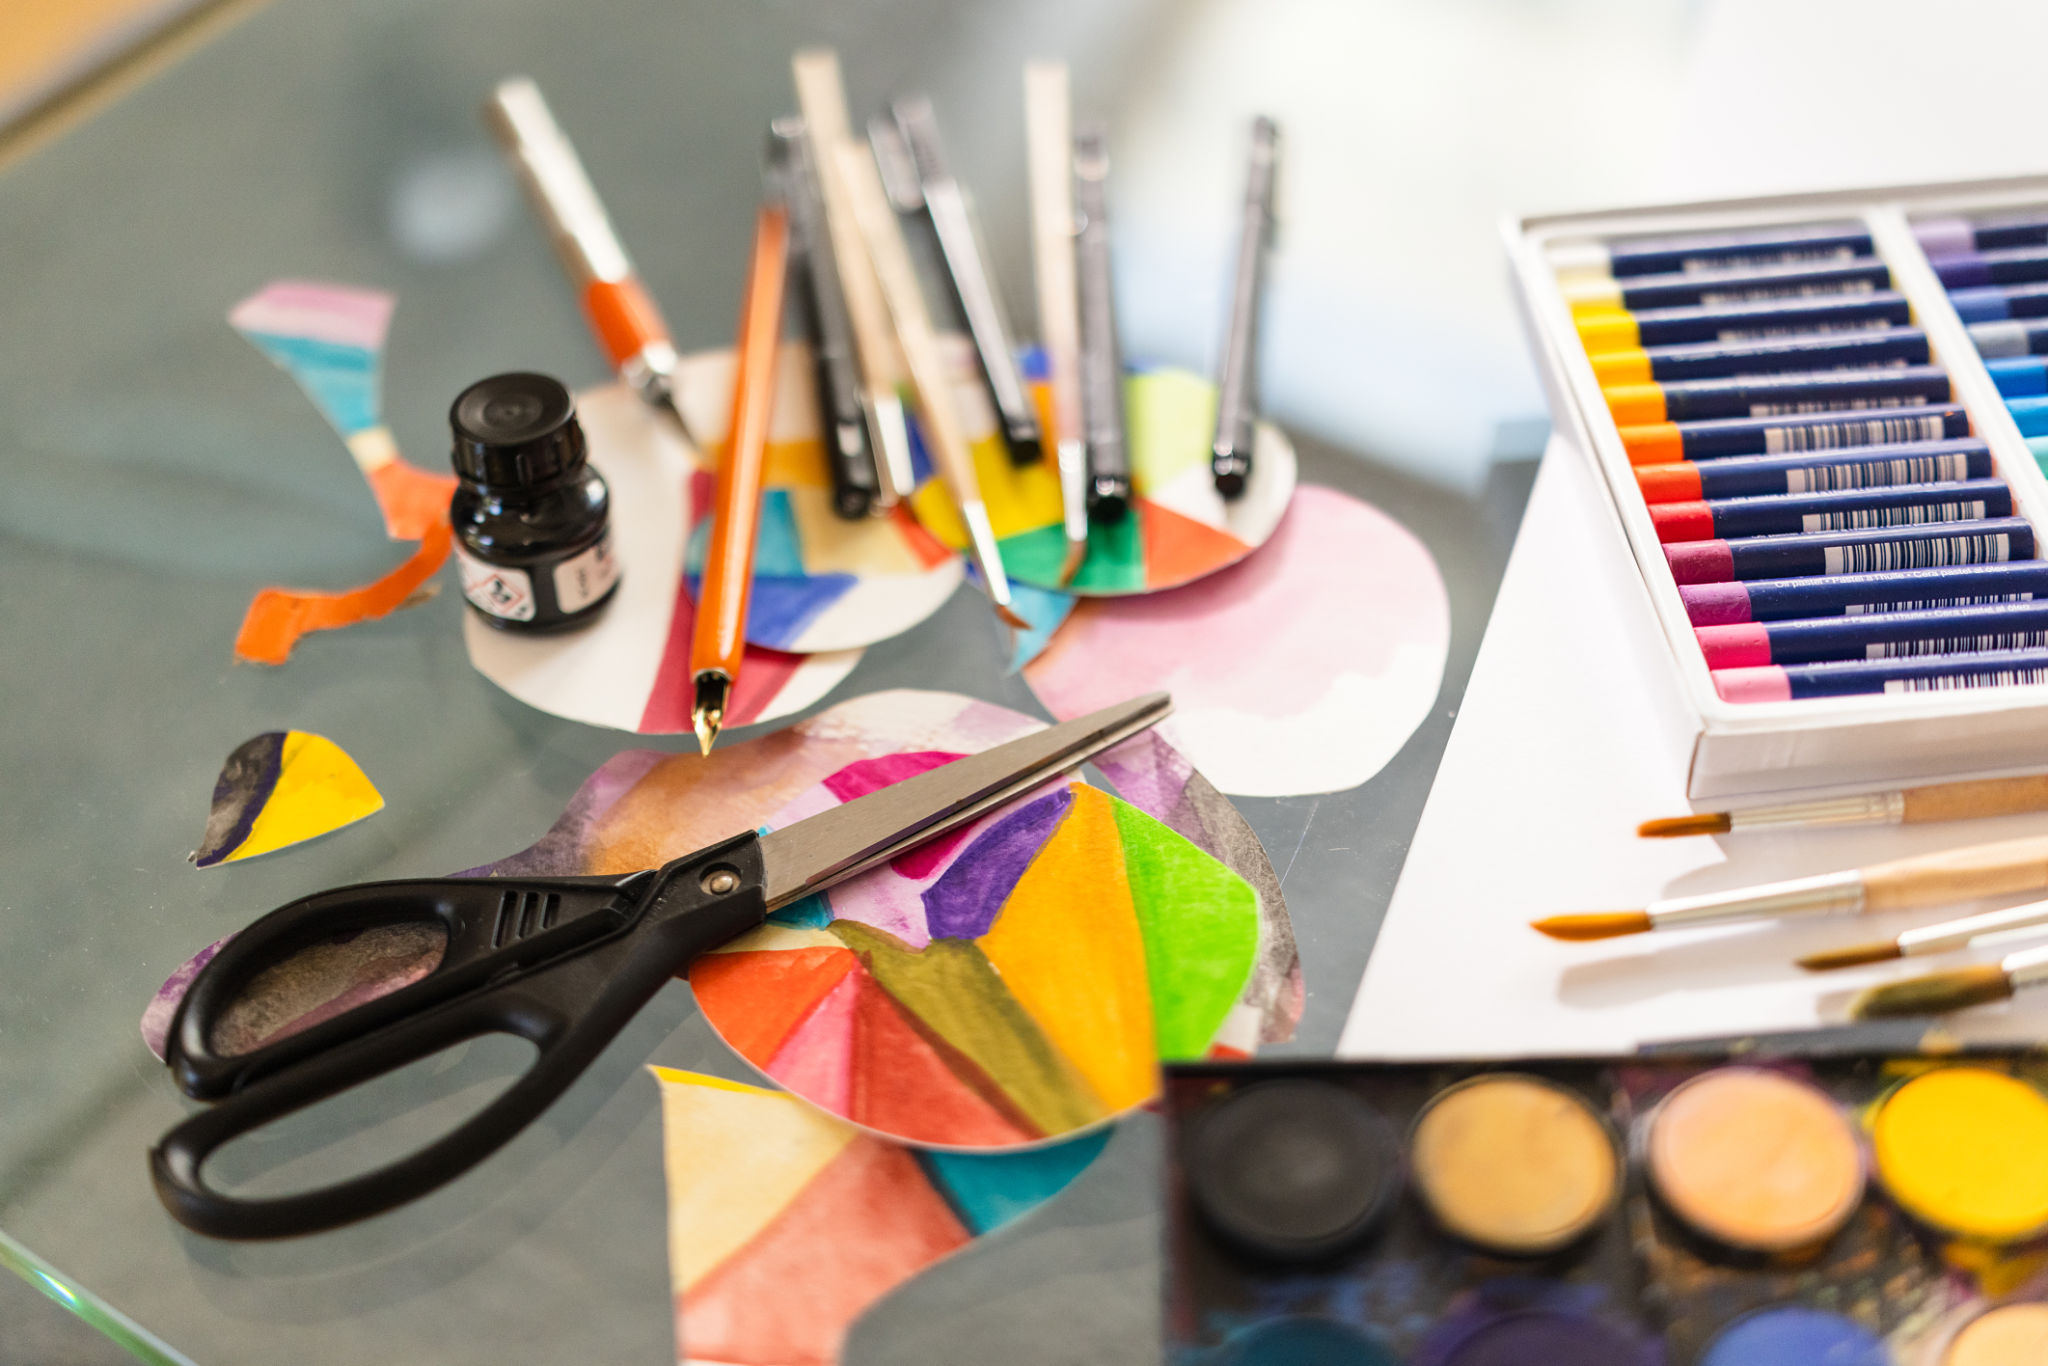
The first step in any DIY art project is gathering the necessary materials. Depending on what you want to create, this could include canvas, paint, brushes, paper, or even recycled materials. Think outside the box and use what you have at home to save money and add a unique touch to your project.
Make a list of everything you'll need before you start. This will help you stay organized and ensure that you have all the tools required to complete your project without any interruptions.
Choosing a Project
The key to a successful DIY art project is choosing something that inspires you. Consider your interests and what you would like to create. It could be a painting, a sculpture, or even a piece of jewelry. The possibilities are endless!

Once you've decided on a project, do some research to find tutorials or inspiration. This will give you a clear idea of the steps involved and help you plan your approach.
Setting Up Your Workspace
A well-organized workspace is essential for any DIY art project. Choose a space in your home where you can work comfortably without distractions. Make sure it's well-lit and has enough room for all your materials.
- Clear your workspace of any clutter.
- Lay down protective coverings if you're working with messy materials.
- Organize your tools and materials for easy access.
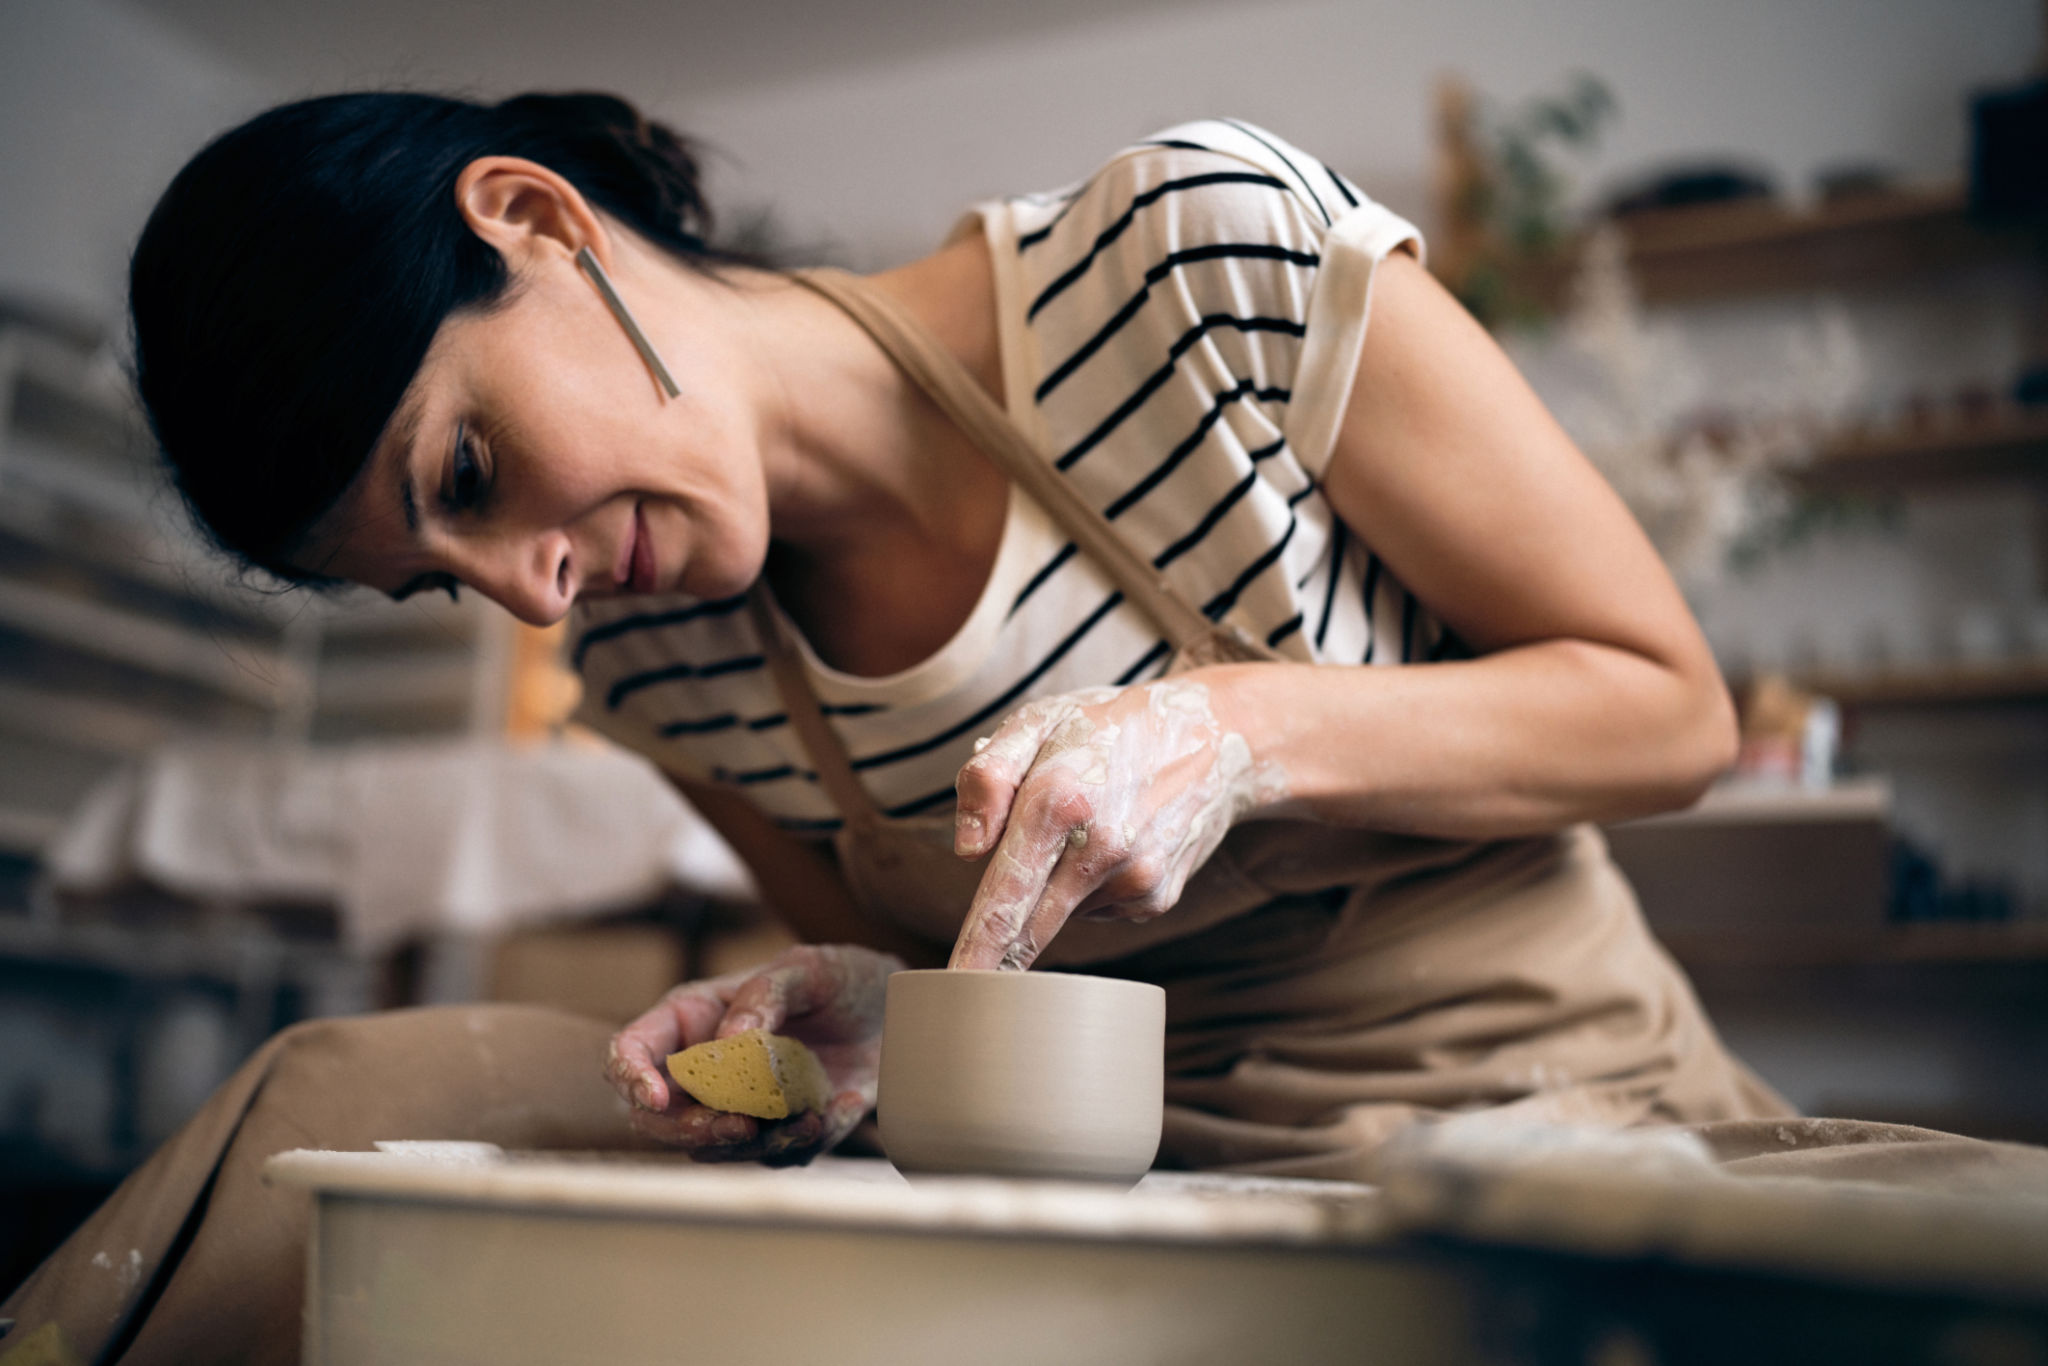
Creating Your Masterpiece
Now that you have everything set up, it's time to start creating. Follow the steps you've researched or let your imagination guide you. Don't be afraid to experiment and try new techniques. Remember, the process is just as important as the final result.
Take your time and enjoy the creative journey. If you make a mistake, see it as an opportunity to learn and improve your skills.
Finishing Touches
Once you've completed your project, step back and assess your work. Are there any final touches you'd like to add? This could be an extra layer of paint, a gloss finish, or even a frame to display your art.
- Allow your project to dry completely if needed.
- Add any additional details or enhancements.
- Sign your work to make it truly yours.
Displaying Your Art
One of the most satisfying parts of creating art is displaying it. Find a spot in your home where you can showcase your masterpiece. This could be a wall, a shelf, or even a dedicated art corner.

Sharing your art with others can also be a great way to gain feedback and connect with fellow art enthusiasts. Consider sharing photos of your work on social media or joining a local art group.
Conclusion
Creating beautiful DIY art projects is a wonderful way to express yourself and develop your creative skills. By following these steps, you can embark on a journey of artistic discovery and create pieces that you'll be proud of. So gather your materials, choose your project, and start creating today!